How Ofuska works
Ofuska protects your ID in three steps. It keeps the document encrypted on your phone, hides details that are not needed and marks each copy for its recipient. All processing takes place on your device, without sending your documents to Ofuska.
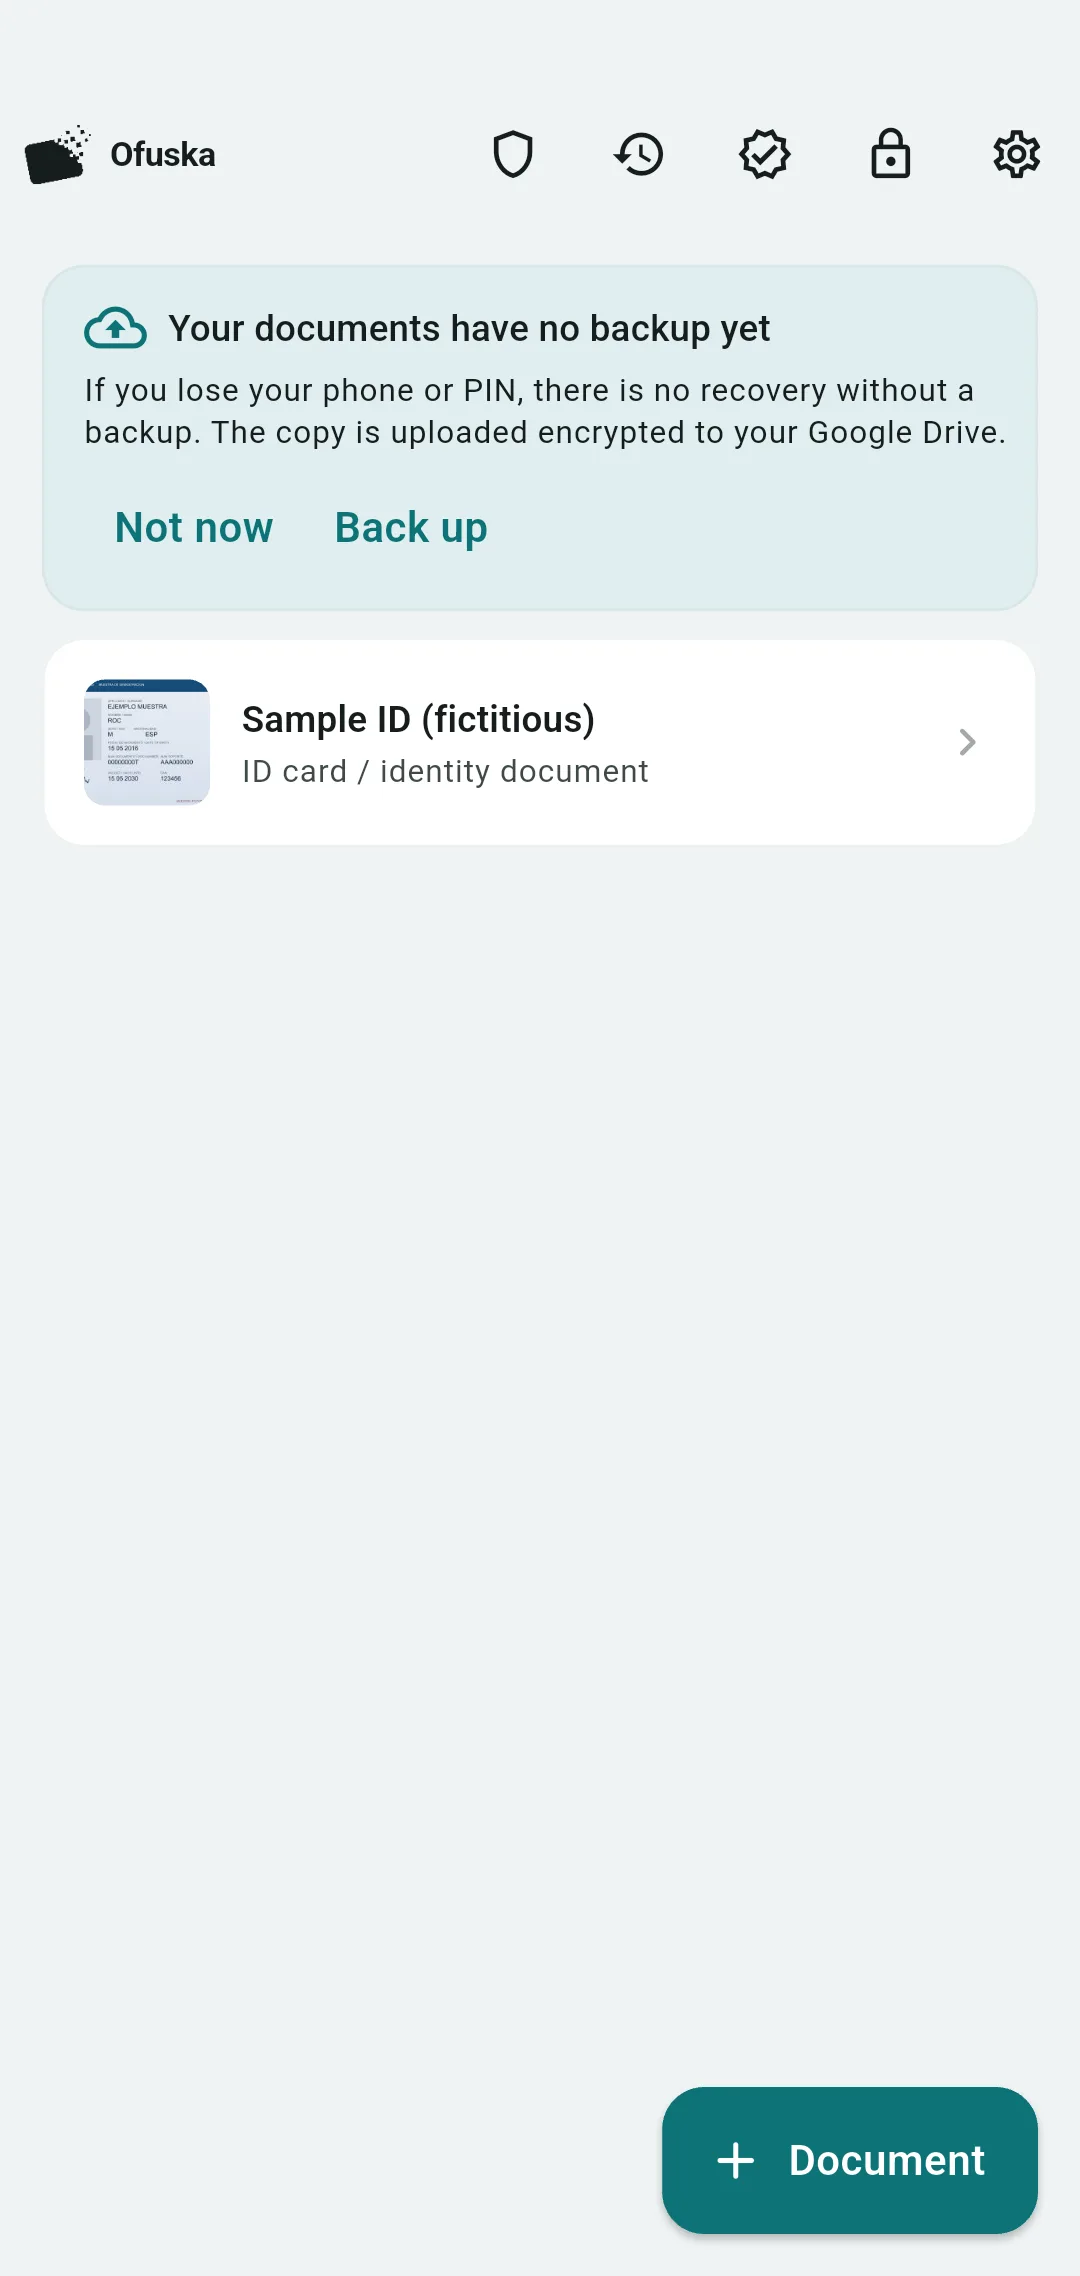
1. Store your document encrypted
Photograph the front and back of your ID card, passport, driving licence or health card. Before saving them, you can rotate, flip and crop the images manually. Ofuska then encrypts them on your phone.
A random master key encrypts your documents. Your local PIN protects access to that key, while biometrics can unlock it day to day. Neither secret is sent to Ofuska.
2. Redact what they don't need to see
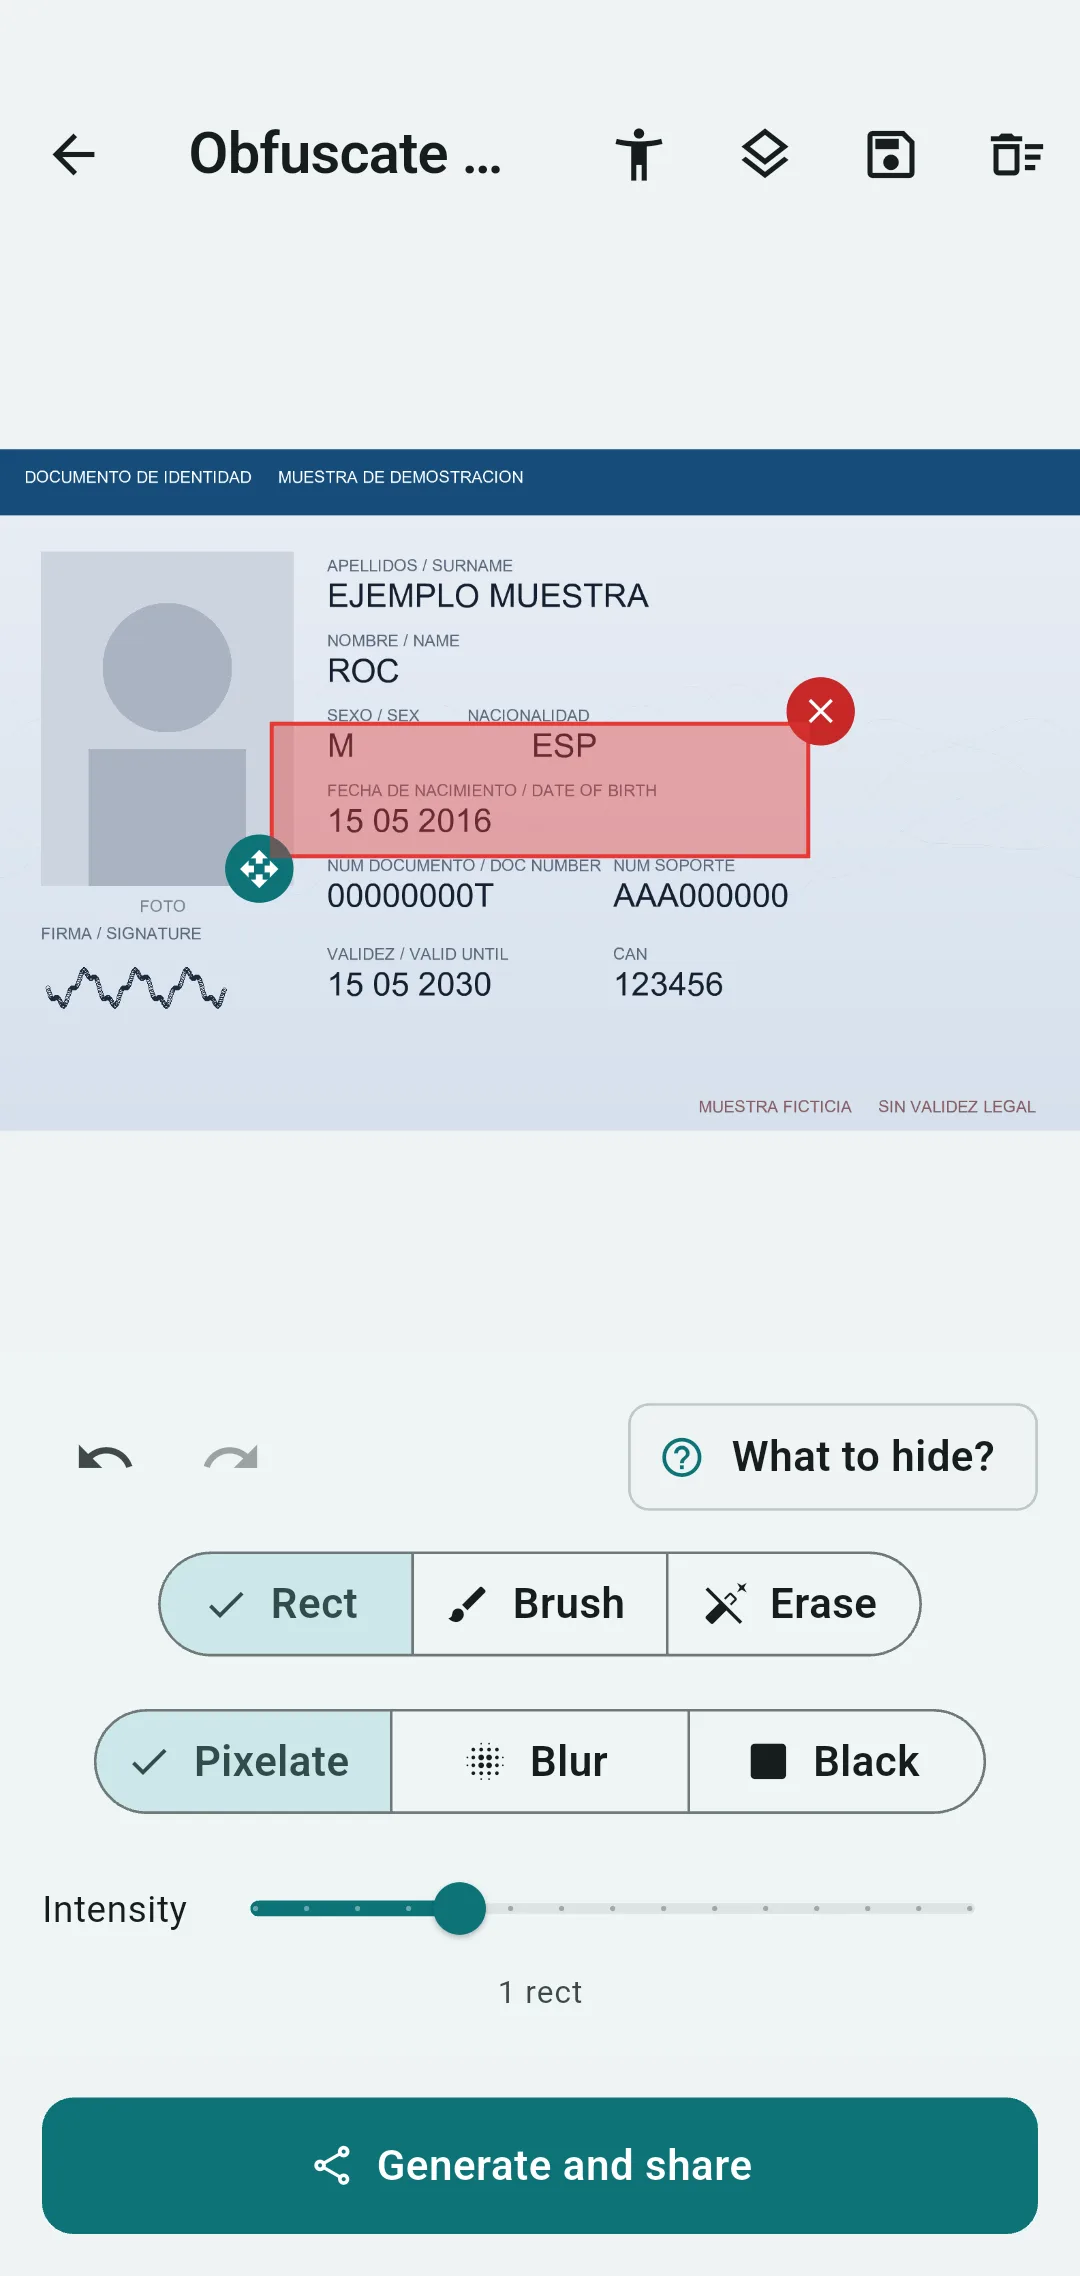
Use the brush or rectangles to cover whatever the process does not need. Save reusable masks, or use Pro to save a different template for each photo. The What to hide guide offers guidance rather than automatic zones.
You can also export in black and white and add the security mosaic, with the recipient and date repeated diagonally across the image.
3. Trace every copy
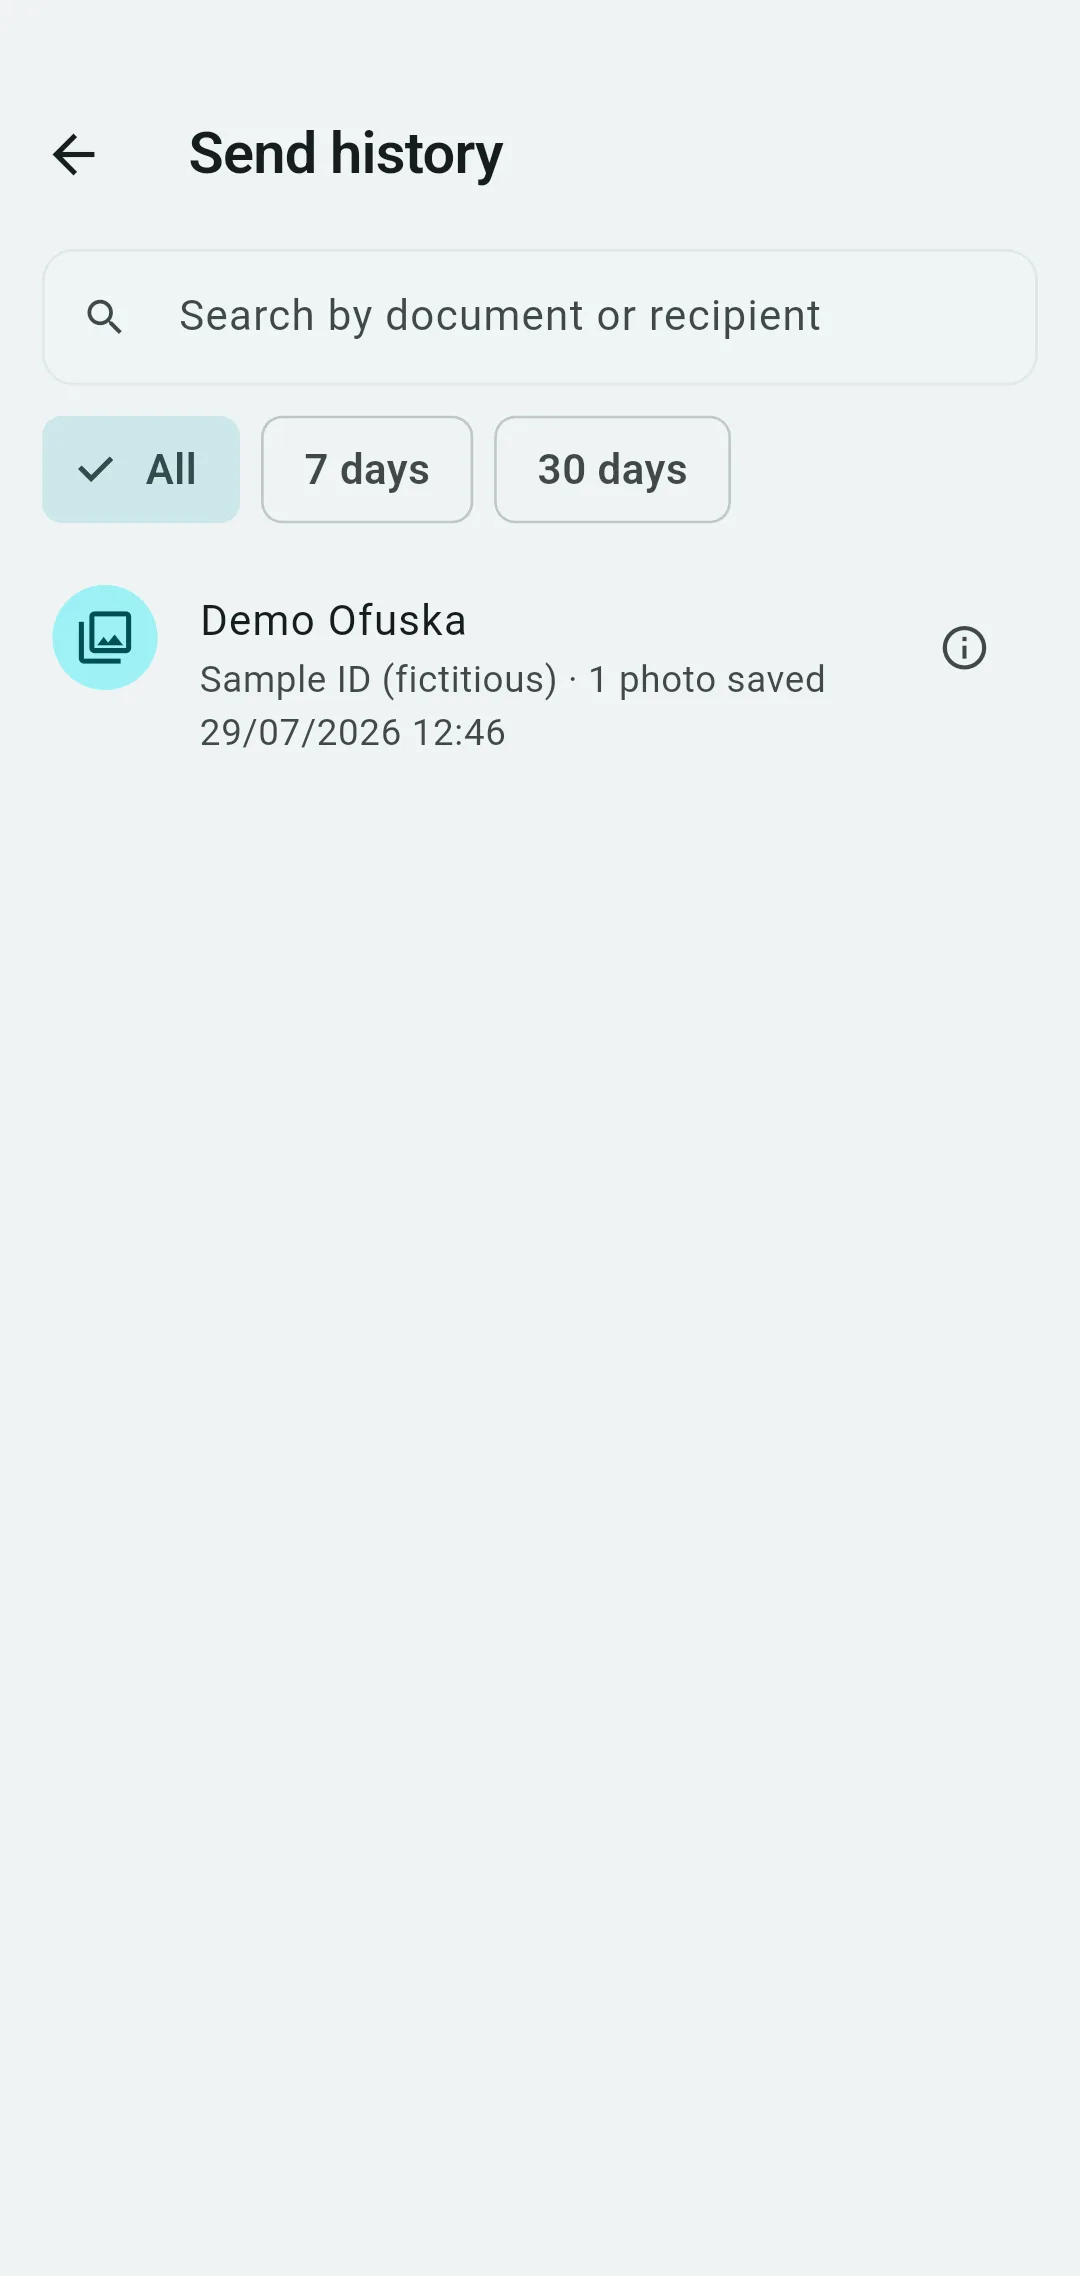
When you generate a copy, Ofuska embeds an authenticated v2 invisible watermark linked to that send. History encrypts the exact image or PDF and its metadata; Free retains files from the last three sends and Pro retains all.
Import a PNG or JPEG into Verify Copy to check whether it matches a copy stored on your phone. Compression, cropping or screenshots can remove the watermark. PDFs cannot be checked directly.
You see the exact result before export. If a photo is still unprotected, Ofuska will not let you continue. Accessible controls are available for adjusting each area.
Safer sharing guide →